S-4 salvage

Salvage and the voyage to Boston

The salvage operation went remarkably well, all things considered. The Navy had learned a lot about open ocean salvage during the S-51 operation two years prior. Those lessons greatly sped the S-4 operation, and she was off the bottom in a little over three months, as opposed to the 9½ months for the S-51.
Please see the Jim Christley article at this link for the story of the S-4.
U.S. Navy photo.
![]()

U.S. Navy photo.
![]()

U.S. Navy photo.
![]()
The Move into Drydock

U.S. Navy photo.
![]()

U.S. Navy photo.
![]()

U.S. Navy photo.
![]()

Of historical note in this photo is the cover that is in place over the breech end of the 4"/50 caliber gun. This cover is not seen in most photos. It was found that the breech mechanism was hardier than originally thought and that the cover was not necessary. It was deleted from most of the submarine guns that used it.
Image provided courtesy of the Stephen B. Luce Library, SUNY Maritime College, Papers of John S. Baylis.
![]()

U.S. Navy photo
![]()

Image provided courtesy of the Stephen B. Luce Library, SUNY Maritime College, Papers of John S. Baylis via Joe Williams.
![]()
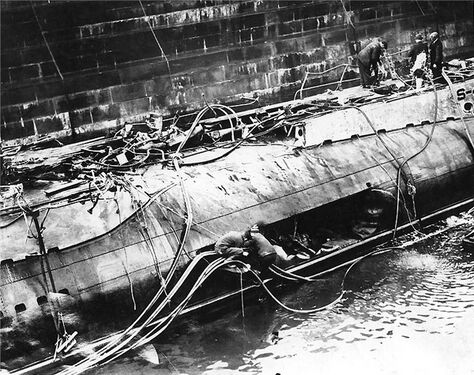
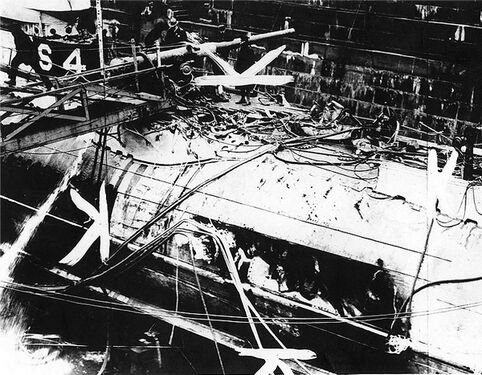
Damage Assessment and Inspection

mage provided courtesy of the Stephen B. Luce Library, SUNY Maritime College, Papers of John S. Baylis via Joe Williams.
![]()
-
U.S. Navy photo.
-
U.S. Navy photo.
-
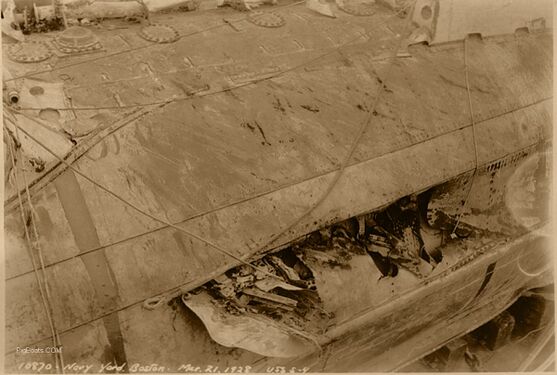
Image provided courtesy of the Stephen B. Luce Library, SUNY Maritime College, Papers of John S. Baylis via Joe Williams.
-
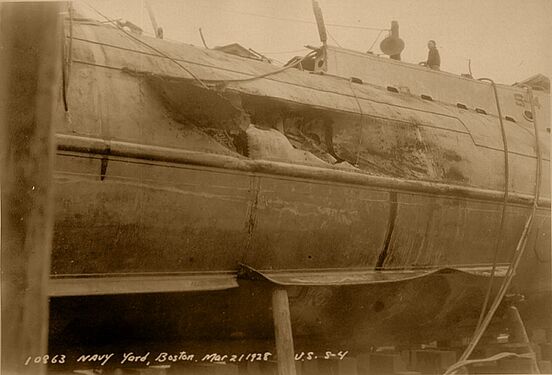
Image provided courtesy of the Stephen B. Luce Library, SUNY Maritime College, Papers of John S. Baylis via Joe Williams.


![]()

The long sausage looking object on the hull below the waterline beneath the bow planes is a MV sonar, a replacement for the earlier Y-tube mounted on the main deck forward. It was a line array of 12 microphones and was electronically steered. A duplicate array was on the port side.
U.S. Navy photo.
![]()

Image provided courtesy of the Stephen B. Luce Library, SUNY Maritime College, Papers of John S. Baylis via Joe Williams.
![]()

Image provided courtesy of the Stephen B. Luce Library, SUNY Maritime College, Papers of John S. Baylis via Joe Williams.
![]()


U.S. Navy photos.
![]()


U.S. Navy photos.
![]()

Image provided courtesy of the Stephen B. Luce Library, SUNY Maritime College, Papers of John S. Baylis via Joe Williams.
![]()

U.S. Navy photo.
![]()

U.S. Navy photo.
![]()
Interior Photos of the Damage

S-4 flooded through a hole, made by Paulding's bow, in the forward starboard side of the Battery Room.
U.S. Navy photo.
![]()

U.S. Navy photo.
![]()

The six men in this compartment were;
Lieutenant Graham N. Fitch
Torpedoman's Mate Russell A. Crabb
Seaman Joseph L. Stevens
Seaman George Pelnar
Torpedoman's Mate Roger L. Short
Torpedoman's Mate Frank Snizek
As the trapped men used the last of available oxygen in the sub's torpedo room, a diver placed his helmeted ear to the side of the vessel and received this Morse-coded message, “Is … there … any … hope?” Unfortunately, the ultimate answer was "no". All six men died.
As a result of these first sinkings the doors used in submarines were redesigned smaller and heavier and existing boats were retrofitted with these over time. New submarines were designed with the smaller doors.
U.S. Navy photo, copy in the collection of Ric Hedman.
![]()
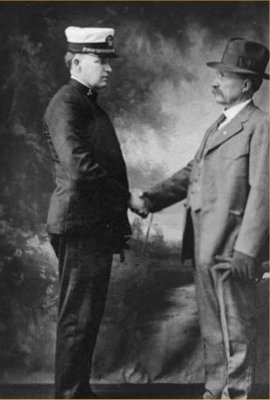
The Aftermath

The two men are proudly displaying the S-4's bell, recovered from the wreck by Eadie.
Photo in the private collection of Ric Hedman.
![]()

The letter says: In case of my death please send entire contents of box to my mother Mrs. (unreadable) Short 804 (unreadable) Spring St. Booneville, Missouri. By Roger L. Short U.S.N.
Courtesy of the Boston Public Library, Leslie Jones Collection.
![]()

Seaman George Pelnar had only been aboard for 21 days at the time of sinking.
Courtesy of the Boston Public Library, Leslie Jones Collection.
![]()
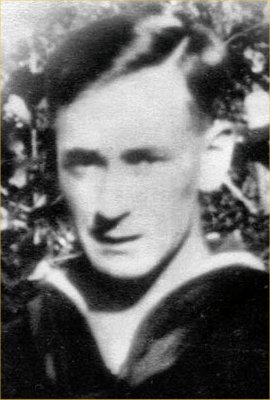
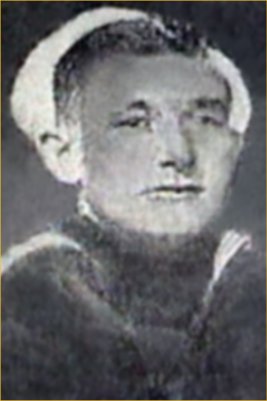
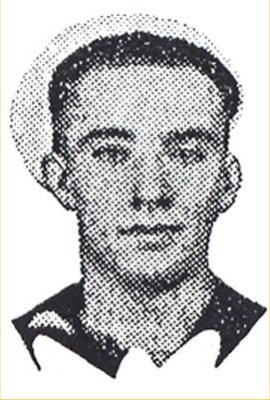
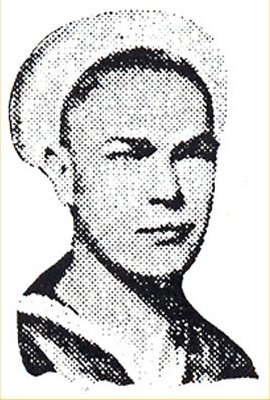
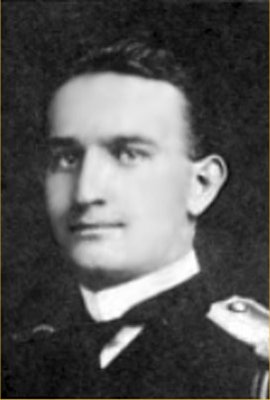
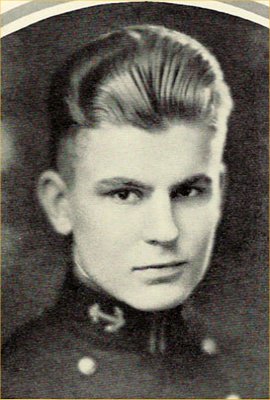
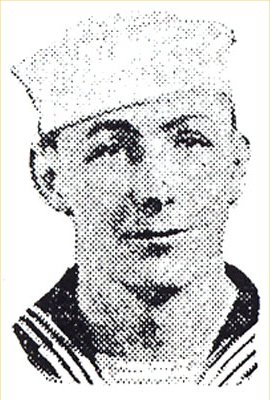
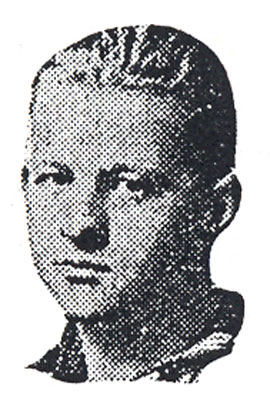
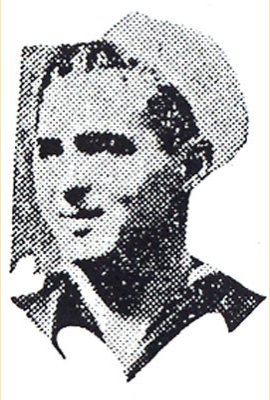
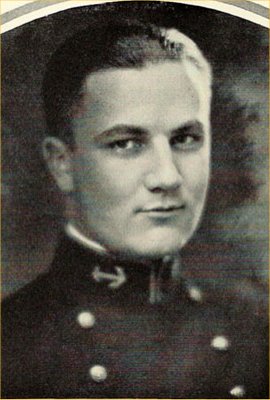
The Crew
-
Walter Bishop
-
Henry Handy Brown
-
Charles Frederick Burrell
-
Charles Beresford Calcott
-
William Franklin Callaway
-
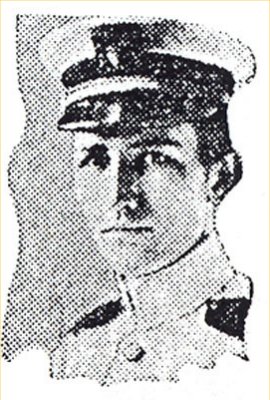
Graham Newell Fitch
-
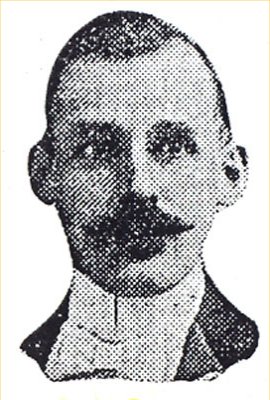
Charles A. Ford / Civilian
-
Daniel Michael Gavin
-
Dewey Victor Haney
-
Aaron A. Hodges w/Uncle
-
Roy Kehlor Jones
-

Joseph Alfred McGinley
-
John Jospeh Powers
-
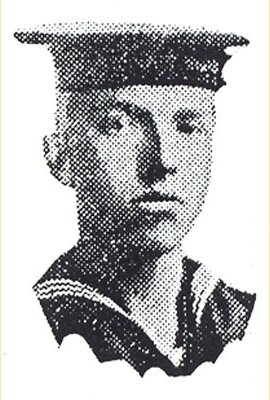
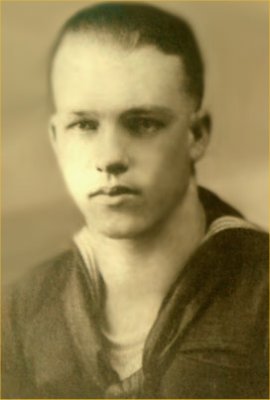
Roger Leslie Short
-
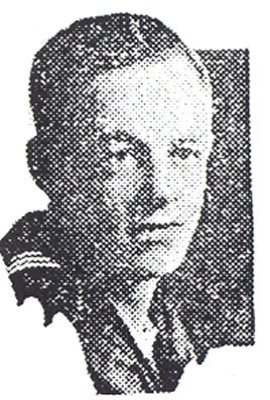
Frank Snizek
-
Joseph William Sternman
-

Joseph Leighton Stevens
-
Donald Weller


Other lost crew with no photo:
Clarence Ferdinand Bethke / Earl Welsh Boone / Elmer Lyfford Cash / Russell Archibald Crabb / William Dempsey / Robert William Diefenbach / John Joseph Fennell / Donald Fred Goering / Peder Haaland / Buster Harris / Arthur Frederick Hodges / Paul Richard Kempfer / J. H. Long / Fred Henry O'Shields / George Pelnar / Rudolf James Rose / Alfred Eugene Seaton / Carl Bernice Strange / Mariano Tedar / Carl Harold Thompson / Walter Ross Tolson / James Johnson White
Photos courtesy of the On Eternal Patrol website
![]()
Page created by:
Ric Hedman & David Johnston
1999 - 2023 - PigBoats.COM©
Mountlake Terrace, WA, Norfolk, VA
webmaster at pigboats dot com
![]()